
It’s official. Spring has finally arrived in Las Vegas!
The flowers are blooming, the birds are chirping, and the pigeons are grazing on my newly seeded lawn like it’s a Las Vegas all-you-can-eat buffet. Grrrrr.


In Vegas, the change in seasons seems to happen overnight. And even though I may also be sneezing a little more right now, I really couldn’t be happier about Spring arriving. This is the time of year I quickly try to kick-start my vegetable/herb garden, in hopes to reap the bounty in time before the desert sun scorches everything before June. That “bounty” is unfortunately a small bounty due to the postage stamp sized yard I have, but nonetheless, it’s gratifying to be growing anything in the desert. It makes me happy.

My 2 cats are also very excited about Spring. The season’s first sightings of bees and butterflies have them all in a tizzy, and frankly, it’s kind of getting ME in a tizzy too because I’m rooting for the butterfly. I’m also trying to protect the bees to let them do their “bee business”. They are essential in pollinating my fruit trees. Last year I added an Asian pear, Passion fruit, pomegranate, Meyer Lemon, and a Kaffir Lime tree to my repertoire. All produced fruit, but the real test will be if they can produce fruit again this season since this will be their first year away from “ Mama Home Depot/Lowes” nursery.
They say ladybugs are helpful too in the garden, but I’m not really sure. Every time I spot one, they don’t seem to be too active. Yet still, every year I buy a container full of them at Whole Foods each year. They are just too darn cute to resist. And come on, how cool is it that you can BUY ladybugs. Note to self- I need to remember to check the weather report before I sprinkle the ladybugs in the back yard. Last year, some gusty winds moved in later on that day and blew all my cute critters into my neighbor’s yard a few doors down the block. Or maybe I should just sprinkle a few in my other neighbor’s yard from the opposite direction, so they end up back in my yard. Just a thought.


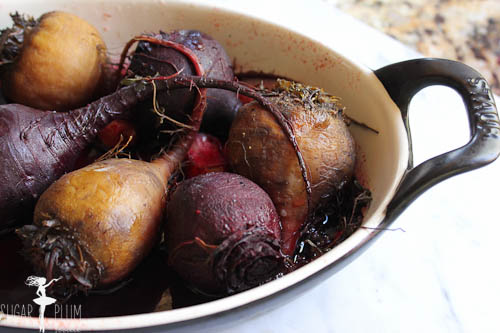
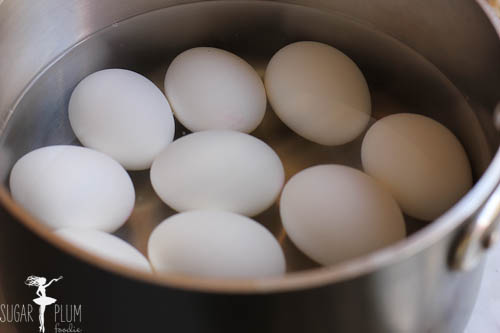
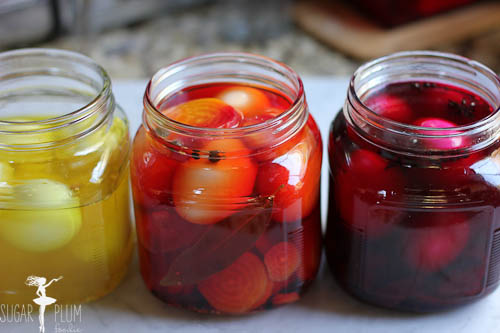
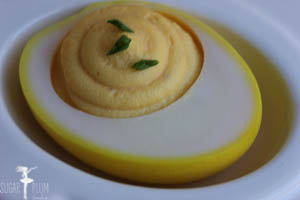
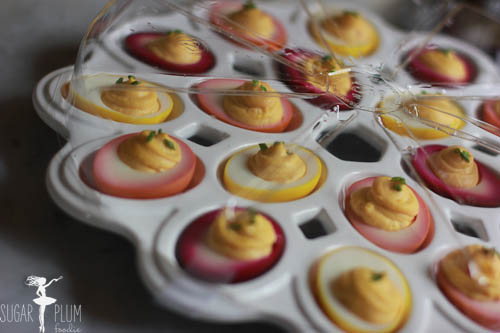
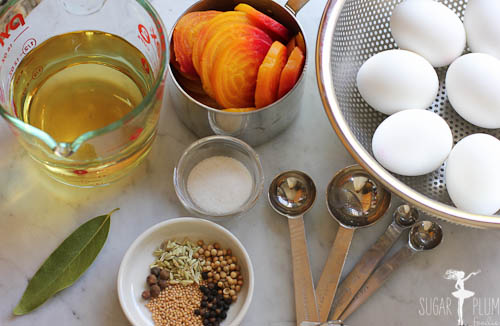
With Easter right around the corner, I was also Spring-spired to experiment with some pretty pickled devilled eggs. I originally got the idea from seeing a pin on Pinterest- my new obsession for wasting hours on the internet. With these pickled deviled eggs, hard-boiled eggs were brined in a salty-sweet-sour solution and dyed a fabulous fuchsia color from red beets. I had an idea to pickle the eggs in 3 different solutions to produce 3 different shades of color: 1 using red beets, the 2nd with a mix of yellow/red beets, and the 3rd with yellow beets.


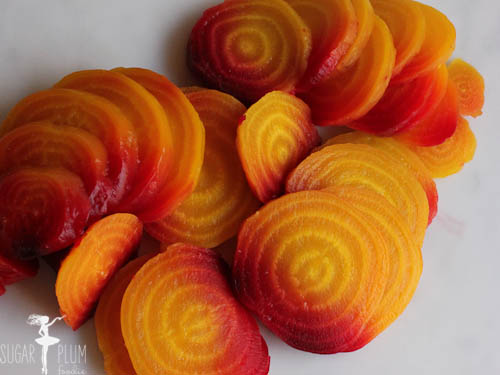
To make the pickled, yellow beets, it was super simple. I just took some of the pickle liquid from my favorite brand of sweet pickles and added a touch of turmeric spice for a vibrant yellow color. That’s it. (So Sandra Lee of me!)


Now as I mentioned before, this was an experiment. The first batch didn’t exactly come out perfect as I had hoped. My mistake was that I made all three at the same time, and quickly realized that each batch needed different amount of time marinating to reach the desired color/taste. The yellow and orange eggs needed a lot more time in the brine, than the red color. Those red beets are potent! So, while waiting for the yellow and orange eggs to catch up, I pulled out the red eggs from the brine and kept the other eggs in the liquid for 2 more days… The color was beautiful, but the flavor was just a tad puckery for my taste. I suppose it’s all a mater of taste in how pickled you like you eggs, or how colored through you would like your eggs to get.


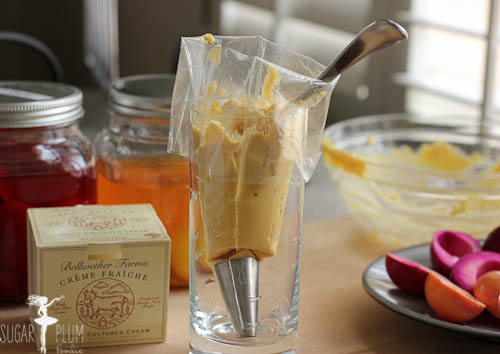
On the 2nd try, I adjusted the acidity of the brine and altered the marinating times for each individual batch of eggs. My advice is to make more eggs than needed so you can pull out a sacrificial egg from the brine every so often and check the inside for the perfect doneness. Also remember that if you are going to try different colors to serve all at once, make sure you start the lighter colored eggs first before you do a batch of red beet eggs since they take way less time. Double the brine and filling recipe and separate the brine into different jars with the different colored beets.

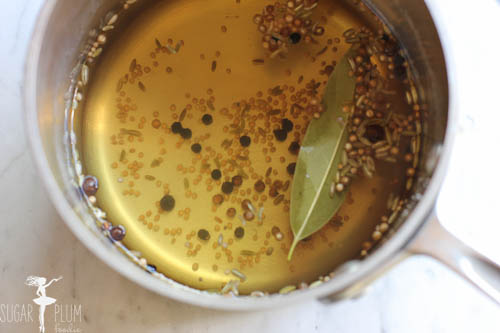
Now it’s your turn to experiment! The spices I used are all optional choices. You can add whatever flavor you like. It’s very important to taste, taste, taste along the way. If you don’t like the way your brine tastes before you put your eggs in it, chances are you still won’t like it after the eggs come out, so it’s important to adjust to your liking beforehand. Trust me, I went through a LOT of eggs with this little experiment – and unfortunately now, with Easter so close, I think I’ve already had my fill of eggs for the rest of the year ! Oh well. Instead, this Easter, I’m off to celebrate by painting by toenails robin-egg blue! Don’t worry though, I’ll spare you the image since this is a food blog. Happy Easter and happy Spring!
Pickled Deviled Eggs Ingredients Instructions
http://www.sugarplumfoodie.com/pickled-deviled-eggs/